Interested in the lessons I learned from my own Primary Bathroom remodel?…. and how did it take four weeks??
I decided to update my Primary Bathroom when the tub started leaking through the ceiling below. Well, not right away. I have always loved soaking in my tub, especially after a run or a long bike ride. But whether it was the faucet leaking or a faulty hose connection, I just stopped bathing. For almost five years.
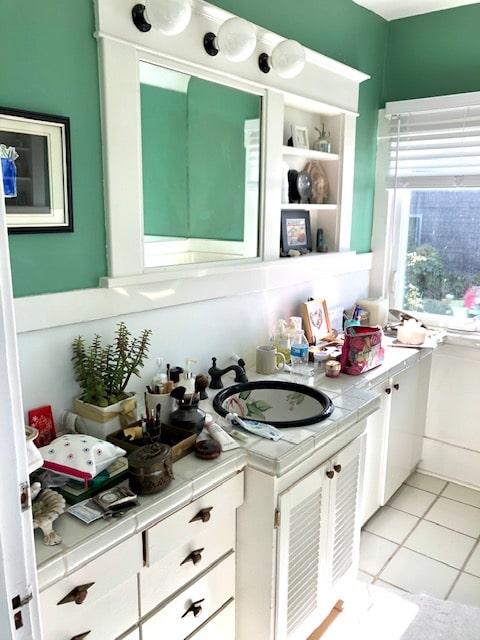
As a bathroom designer, I’ve completed many beautiful Primary Bathroom Remodels. Yes, I am privileged to help others achieve their luxurious private sanctuaries! And I love all the materials from which to choose…plumbing fixtures, stone, detailing woodwork, finishes, tile layouts, and lighting. Looking at my 25 year old bathroom in my 100+ old house through the eyes of a prospective client, it was definitely not what I would want to portray about my design capabilities.
How the Update became a Remodel
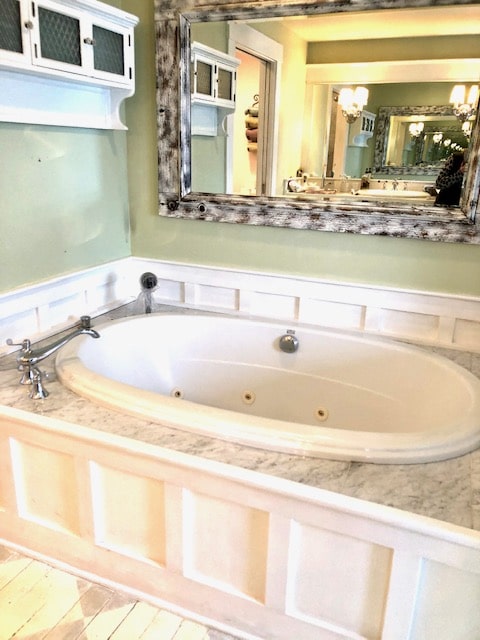
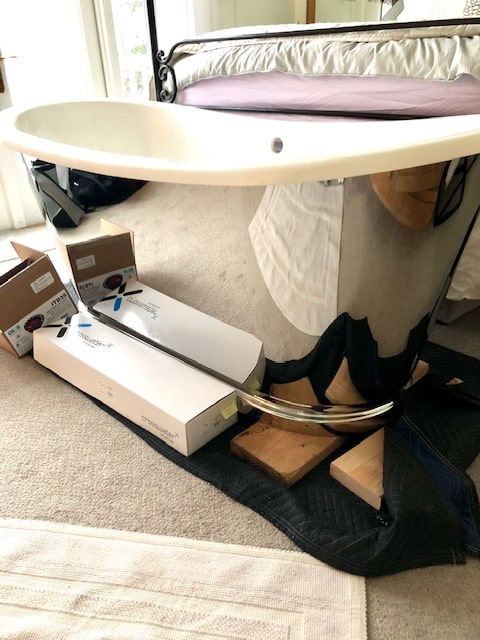
The whirlpool jets were discolored. I had researched to see if they could be replaced. Of course not. I hadn’t even investigated what it would cost to fix the leaky tub but I knew it wasn’t going to be cheap as the tile surround would have to be dismantled. Then I saw an absolutely gorgeous tub at one of my favorite showrooms… for sale as a floor sample. Don’t you love a bargain? It was less than half the price of retail. The size was perfect. I imagined how luxurious the bathroom could be. Yes, it was a splurge. I could have replaced the drop in tub with a similar size and shape. Reusing my original Kohler Revival faucets would save a little. And the overall footprint would be similar.
I drew a floor plan and a sketch of how it could work and how it would look. Now I could envision this hunk of a beauty and determined that as an award winning bathroom designer extraordinaire I deserved it!
More Leaky Issues
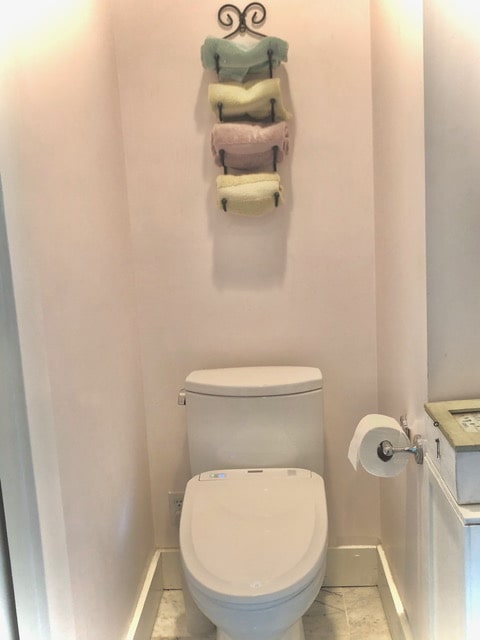
The toilet tank components had been jerry rigged and replaced a few times and still not flushing consistently. Even though it was rated as a Water Sense efficient toilet, improvements have been made since it was purchased. If I was hiring a plumber to fix and install the tub, I might as well replace the old toilet. But let’s back up. To be fair to the story of why it took longer than expected, another issue presented itself that precipitated the bathroom refresh. My kitchen window had a leak as well.
So I asked one of my favorite contractors to take a look and that’s when I decided to combine the two projects…more about this later. As long as I was having repairs done, I would do them simultaneously. While this may have saved a little time and money it wasn’t really apparent because, of course, the project kept growing. A new faucet was installed for the exterior deck because the siding was opened up and well, why not? We’ve been wanting a water source for my flower pots forever. But I digress. Back to the bathroom.
Flooring Decisions
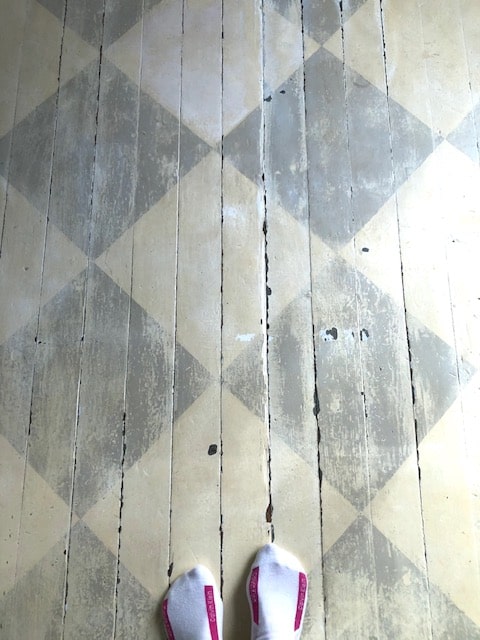
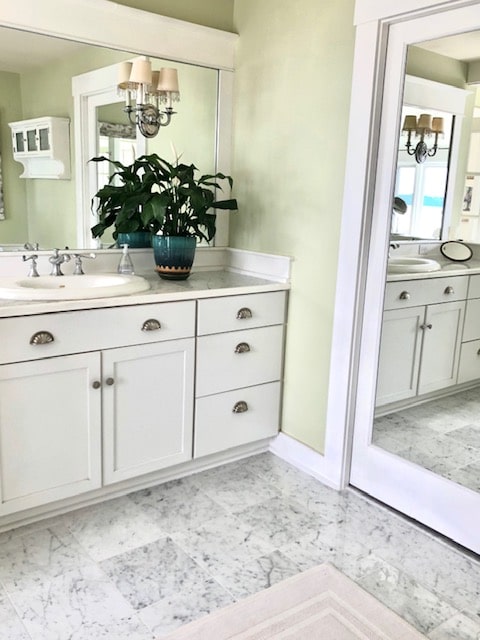
One of the dilemmas that was important to me was deciding what to do with my old hand painted floor. Now this was a labor of love 25 years ago when the Master suite was added. We removed the carpet through out the upstairs. It seems I had more crafty energy back then. When the tub was removed, the floor had to be fixed. Matching the existing albeit sentimental design would take longer than the time I wanted to spend. The more I looked at the floor and the adjacent matching walk through, the shabbier it appeared. Shabby but not chic. To save time and money I decided to tile the tub area and keep the walk way for a future upgrade.
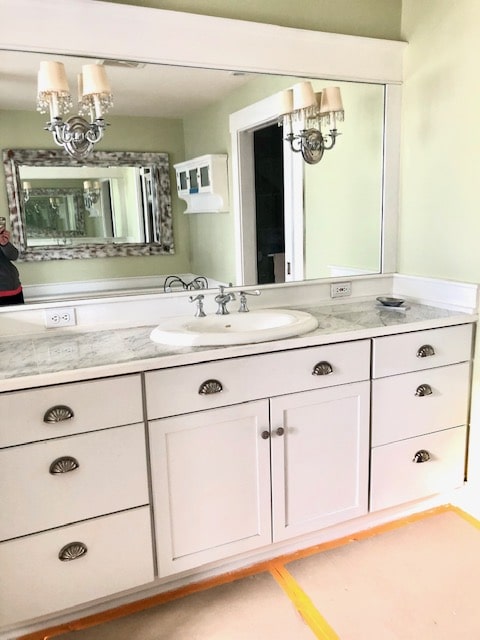
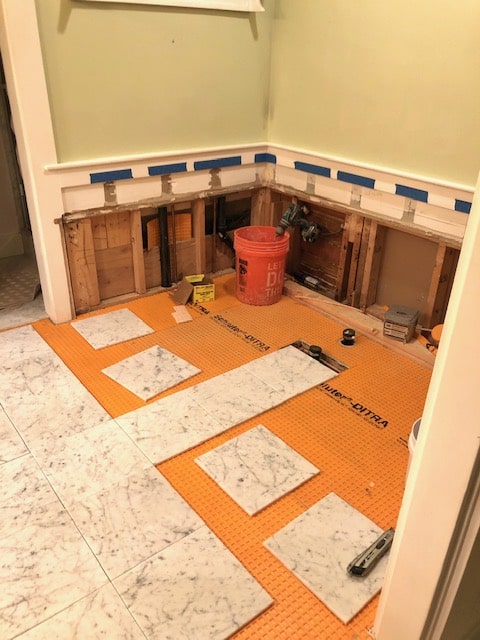
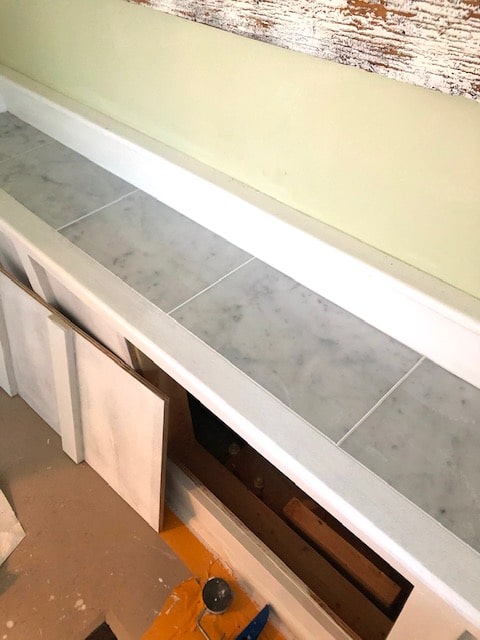
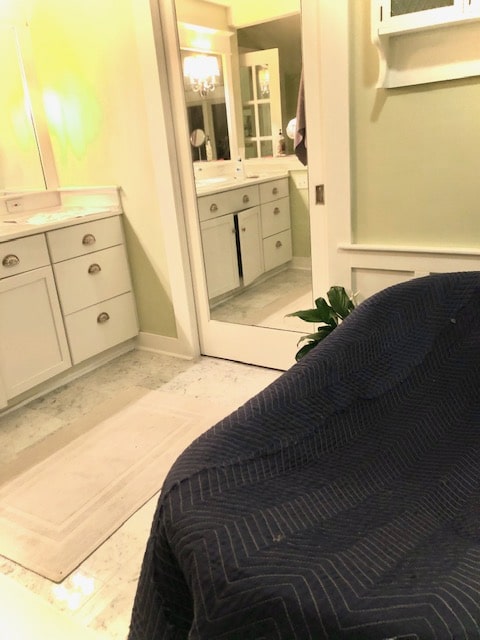
Well, picking the tile was easy. I just chose something close to the original Carrara marble that was in the “Water Closet”. The toilet and the shower are privatized by a pocket door so there is a transition. Carrara marble is also the counter top material of the vanity and the shower walls which we were keeping. I still like it. Some things never go out of style.
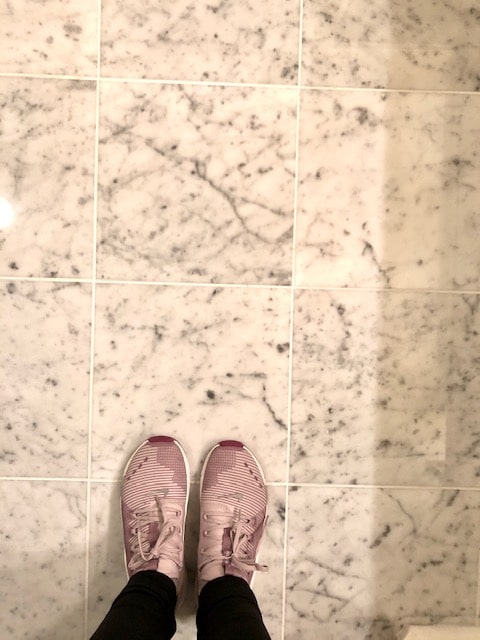
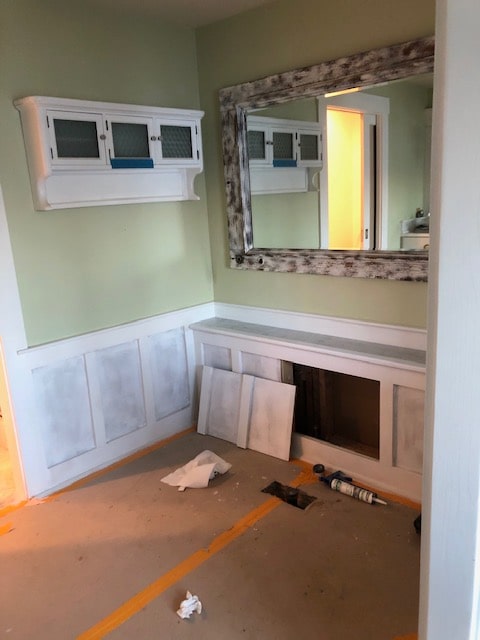
However, the floor now needed to be properly leveled. No biggie, it just took a little longer to install the floor and detail the new shelf/wainscoted wall which would house the plumbing. The carpenters who did the woodworking and trim are perfectionists and extremely talented. Pictures of the details of the floor installation and the wainscoting are here.


Moving forward, I wanted a Washlet bidet seat for the new Drake toilet (top rated low-flush, water-saving, and energy efficient) Prettier toilets are available but this is in a closet! So now a new electrical outlet needed to be installed.
“Do as I Say and Not What I Do”
With the flooring installed, we could see the finish line. Or so I thought. The new wainscoting need to be primed and painted. While the walls should have been completely repainted, we went the lazy route and just touched up. The pretty pale green color was fine. Taking this short cut, we did save some time. Echoes of my Mother’s mantra: Do as I say and not what I do.
Then something happened we could not foresee. When welding the new plumbing in the tight space, a fire started in the wall! (The smoke detectors worked very well!) Inspecting inside the wall to be sure there wasn’t any fire damage required a hole to be carved in the drywall. Patching the “safety” hole took an extra day to complete.

Perfection in Imperrfection
On a very personal side note: Nothing inside our home has ever been painted professionally. When I say we, it is not me. I give wholehearted credit to my husband who has painted everything for the 30+ years we have lived here: railings, walls, ceilings, woodwork and trim. And one can tell. I do not recommend it! Having the luxury of a partner who loves a paint project, I have saved thousands of dollars going the DIY route. He does a very decent job. But it is not perfect. My motto is embedded in the philosophy I embrace: there is Perfection in Imperrfection. It helps me chill!
Please don’t judge me for my own tolerances! We all choose our limits and I am pretty happy. If you need clean precise lines where a wall and a ceiling meet- Hire a professional painter!
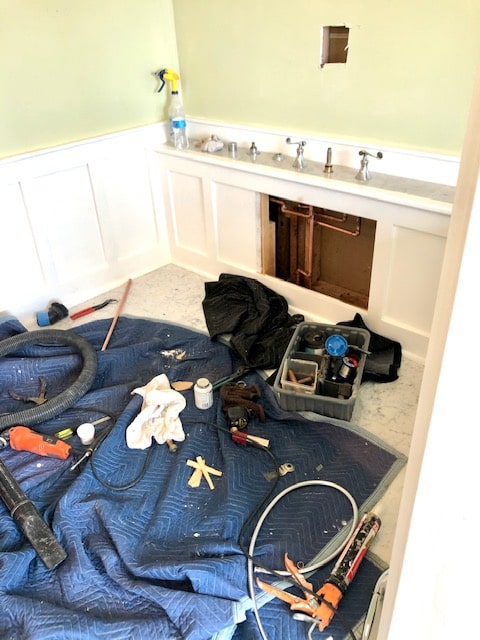
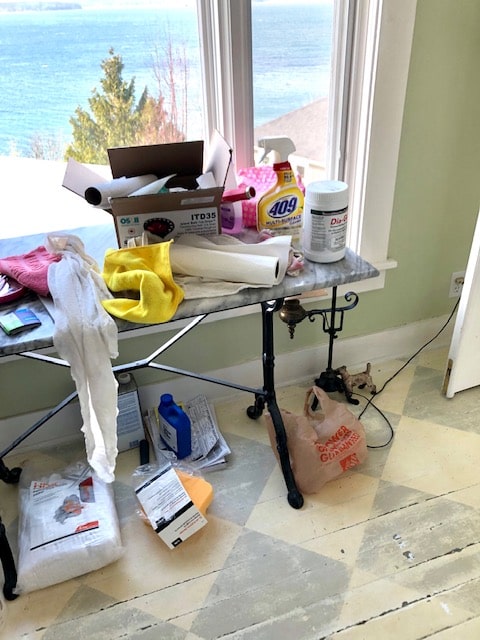
The Mess
At the start of the 4th week, the tub is finally moved out of the bedroom and connected to the plumbing. No matter how careful the dust barriers have been secured, everything on both floors of the house are filled with dust. Having relocated all our toiletries to the guest bathroom we didn’t bother organizing them thinking it would be short term. What a mess! Another lesson: Stage your temporary space to be convenient and orderly right away.
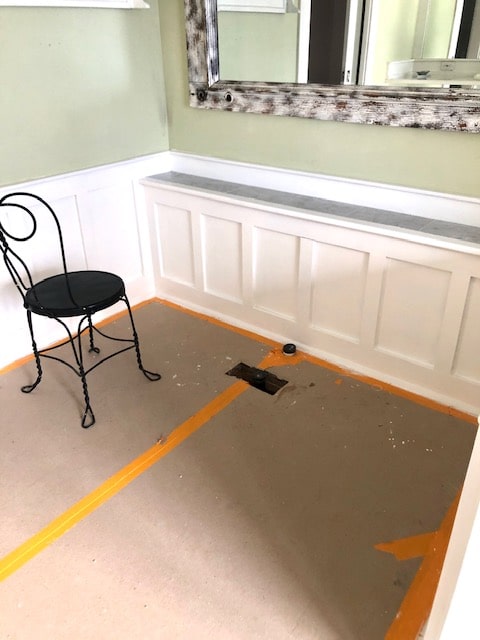
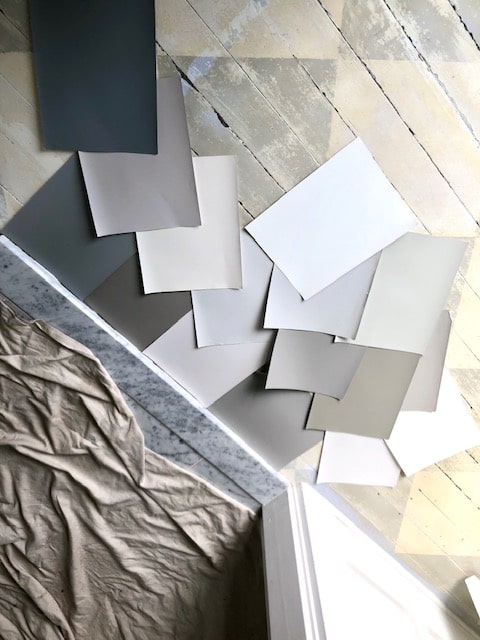
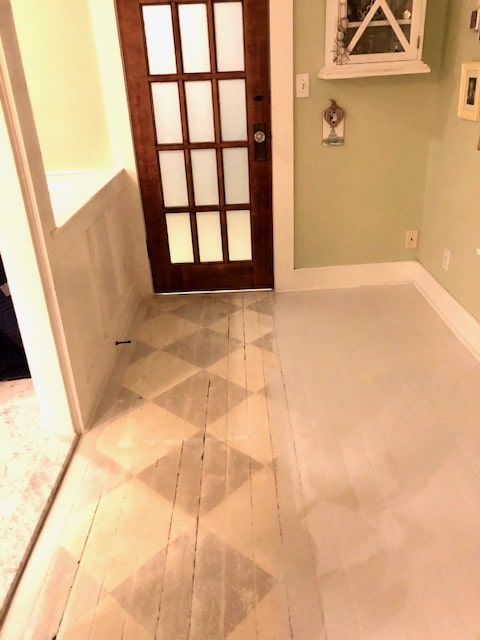
Oh, one more thing. I decided the old painted floor in the walkway (connects to the Main Bedroom) looked too nasty to keep. You can see it in the photo. One day I may find the energy and motivation to re-do the faux argyle pattern but for now I just put a solid coat of marine deck paint to cover it up. I was careful to choose a color that would blend well with the bedroom carpet and the marble flooring. I chose Sherwin Williams Crushed Ice. It looks nice and clean and is easy care now. This was another two day process. I may never really get to that overly intensive paint project.
The goal was to have everything in order, clean and accessorized by our annual St. Patrick’s Day celebration so I could do a little show and tell. We were on target until the Quarantine rules prevented any entertaining. So now I am sharing here about the process in pictures.
The More I Learn, the Less I Know
I love to learn. I take pride in managing many beautiful bathroom renovations which have gone smoothly. But designers can be their own worst client. There is always more to learn! I can share the lessons from my own Primary Bathroom Remodel. Listen. Even if you have all of the materials and products ready to install, a proper bathroom remodel is going to take longer than the two weeks you are wishing it would take. Even with the best planning and preparation, a traditional Main Bathroom remodel is going to take at least 3 weeks.
For this project, I had my very experienced contractor manage the entire process. I was completely thrilled with his expertise and all of the workmanship. His trades included carpenters (a total of 4 all in one day), the plumber, and the tile setter who were all talented diligent workers. He did the small electrical work himself. And as I said we did not hire a painter. You can only fit so many people in one room at any given time! And, of course, some things need to dry or cure before the next step.
Lessons from my own Main Bathroom Remodel
- Expect it to take longer than you wish.
- DIY will take even longer.
- Plan, prepare and have all special order items ready before the demo.
- Stage an orderly temporary space for your daily grooming.
- Seal off as much as possible. Protect all the floors. But expect dust and dirt.
- Adding on a few projects is normal; it just happens. Days or weeks may be necessary to complete.
- Stay out of the way of the trades. Provide simple snacks and beverages if possible. Everyone will be happier.
- Be patient. Chill.
- Breathe.
Enjoy the Journey
My advice is to be patient and as they say try to enjoy the journey. I bet you’ve been through a remodel where you can’t wait to have your house to yourself again. I know everyone gets to this stage at some point. But do you also miss those friendly faces when it is all over? That is how I am feeling.
Fortunately, my contractor finished and loaded up all his tools the day before our Governor’s Sheltering in Place rules! Throwing a party in a bathroom might be a little delicate, but I am tempted to fill that tub up with ice and champagne to let my special contractors know how much I appreciate their hard work and pleasant personalities. Well, I might just do that when this social distancing is over!

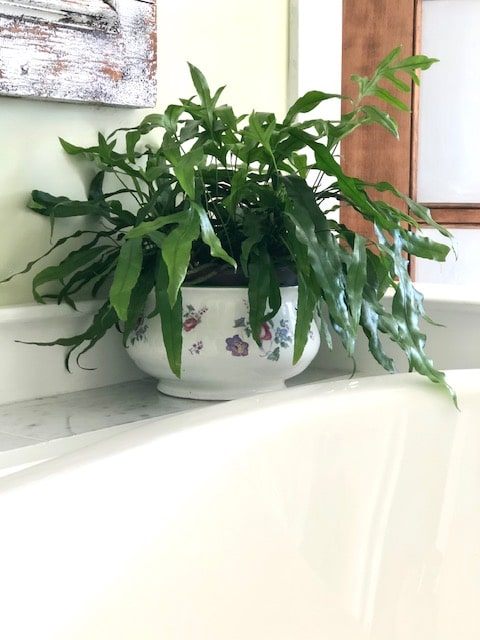
Editing the old stuff and detailing the new with my new lovely plants gives me pleasure. The pain of remodeling is like childbirth. Easy to forget…. especially when all the leaks are fixed! And the finished bathroom looks fabulous! And I am soaking in my new tub with bubbles and a book and a glass of wine. I hope the lessons I learned from my own Primary Bathroom remodel helps prepare you for your next renovation. I’d love to hear about your own experiences in the comments.
Want to read more about my bedroom decor? Finally the “Primary Suite” is complete just in time to enjoy while we shelter at home. So relaxing now. Cheers to your health!
Pingback: Bathroom Design-Before & After Makeovers - Judith Wright Design